Who's behind your keepsake?

I’ve been in the industry for several years and have seen so many people come and go as well as so much go on behind the scenes. Having been removed from groups after trying to understand why some think it’s ok to be deceitful to clients, I did happen to grab some screen captures before officially being booted. Other big-time crafters should be ashamed of some of the things they do or advise their pupils to do. Everything from harsh chemicals to tints. Not only that, but you see how some people do their practice and intermingle client’s milks. It’s all been pretty eye-opening.
While some of these mentioned additives aren’t the most unsafe I’ve seen mentioned in past years, they still DO impact color, and adding more isn’t the answer to keep the milk pure. You want less, you want the closest thing to just milk as you can get.

You’d be sad to learn some of these crafters commenting are BIG TIME creators who are being trusted to preserve real clients’ milk. I think MOST creators mean well, they just haven’t opened their eyes that their method isn’t very pure and became blind once they start getting paid. At the end of the day, it’s up to the consumer to be aware of the kind of businesses they are using. Either way, I suggest vetting your creator as well as seeing how long they’ve been in business AND that they are an actual business. In the event you have an issue with your piece, you don’t want to use a source that has no legal backing to their brand.

Comparing Breastmilk Preservation Recipes

Here is a good example of three breastmilk preservation method recipes. Images are taken in natural light with a DSLR on Manual mode.

In the cup, I have the same batch of breastmilk used for the experiment so you can compare the examples of methods WITH the actual milk. The top image is after it has dried (you can see it preserved on my other blogs or YouTube), and the bottom is after is has been crushed.

Here we have my method on the left. It doesn't make nearly the amount the other two do, but remember, it also doesn't have nearly the filler "substances." Also, take note, that my method is not meant to be dried out, I did so for the sake of keeping the experiment fair. (You can also see my method in the wet form as it is used via a previous post.)

The second, towards the bottom, is the CA method. You can read more about this method in previous posts.

Lastly, the famous MM breastmilk preservation powder recipe on the right. You can read more about this method in a previous post as well. - As you see, it retains the least amount of actual breastmilk color out of the methods shown. I still don't understand why this became the "go-to" recipe for breastmilk preservation. It CLEARLY has pigment in it. It made it big because the lady who started creating it didn’t tell the whole truth or the full result of the method, and didn’t care while the people in her group blindly followed.

This is why you should ask what method your DNA artist is using, and ask them to show you the method of preservation with water. This way, you can make an informed choice about your keepsake, asking this gives you a great idea as to how much your milk will actually be coloring your piece. While they don’t owe you their recipe, if they don’t want to tell you ANYTHING, that is a big red flag.

Famous powder/dust, the CA method, my method (dried), and the actual milk used for this experiment.

DIY Breastmilk Preservation Recipe

There are a few ways you can do this depending on how ethical and stable you want your preservation to be. Naturally, you are going to want the best of the best, let’s be real. Unfortunately, you aren’t going to find too many people giving that information out for stable, well-established formulas.

Some are more ethical than others, but if you are making it yourself you are well in the know of what you are putting into your piece.

This DIY method is easy and you can get most of the items quickly. Please note this method is NOT professional grade.
You can see the below method done on a previous blog post or my YouTube.

Resin
You will want 5 ml of Citric Acid
5ml of breastmilk
(titanium dioxide) if you choose
Mix together and evaporate off the liquid in a double boiler method until the mixture becomes a paste.
Flatten onto parchment paper to dry for 1 week. Silica gel sand helps this process as well.
Once dried mix with your resin and cast. - I recommend sealing your piece to give it extra protection.

The famous powder dust is made with various ingredients. Most are not public, but I speculate a lot of them are filled with titanium dioxide, plaster, citric acid, and other finely ground powders. Most of all, whatever they are using is highly pigmented. I’d assume things used in the powders are anything from safe products to dangerous chemicals. BE CAREFUL ordering, using, and creating these products.

Wet Method Preserved Breastmilk unrefrigerated, 2 years later. . .

I thought this might interest some of you who have been following along on my wet method breastmilk preservation. Here is some preserved breastmilk that has been put through the wet method preservation and stored in a tube, on the shelf for 2 years waiting to be made into jewelry. I’m trying to test how long I can keep preserved orders on file without refrigeration. Look how cool it is, it reminds me of plasma! Two years strong! Once shaken, it mixes right up.

M.O.M. Breastmilk Wet Method Cure-out

Here’s a good example of The Mind Over Matter breastmilk preservation wet method. This shows the method next to the client’s actual milk used. The two pearls show how the cure-out phases go with this method. When the breastmilk is cast it tends to be a dramatic, crisp white. This method cures out to a more natural milk color once it settles (oxidizes) into the resin. Some might consider this discoloring, but as spot on as my pieces seem to cure out to, I’d say it’s much more natural than the super white pieces that typically don’t represent the natural colors of the milk.

I also have a photo of a cured-out ring next to the client’s actual milk. I thought it was pretty stunning how well the gem represents the actual milk from my client.

Introducing Custom Breastmilk soaps!

Custom Breastmilk soap is now available in the shop. I can turn your old or fresh breastmilk into useful, luxurious soap. This can be done in Breastmilk and Honey or Aloe and Breastmilk. Extra add-ins can be raw honey, scents, or toppings like lavender or oatmeal. An order of soap uses 1 cup of breastmilk and yields 3 bars of soap.

Custom handmade breastmilk and honey soap

Breastmilk Preservation Powder Method

I did a demonstration of the famous breastmilk preservation powder recently. You can get the powder from etsy and other dna crafters via diy kits. I would imagine powders are made and work similarly, but you can try this for yourself with whatever kit or method you are using.

I’m not using the full step-by-step method as that requires a double boiler and for the sake of time and showing tints I don't think that part is necessary, but I do that in full in a later video.

I was given the powder from a lady in one of the breastmilk preservation groups I was a part of after we had talked briefly about the method not being all that tried and true as it's claimed. My stance is that not all methods are created equal. There are several others who agree, but few will say publicly (and I won't throw them under the bus ) because you will get removed from groups and or bullied and name called.

Some methods are definitely purer than others, but from my research, this seems to be one of the lower quality options as it is packed with tint and filler, on top of evaporating off much of what you'd use.

In my years preserving breastmilk and pumping my own milk, I’ve not seen Bright, powder-white breastmilk, so it doesn't make sense to start with a base that impacts the natural color so much.

I like science so doing this method with water as I did with my own was a part of the experimental and learning process for me. You can see both demonstrations now and you can see which is the purest choice, which is up to the mother's and that's really the whole point. Being a mother myself I would have been devastated to find out my piece was made with tints when I was expecting my milk was the only thing added to color my piece.

I got to see the powder with my own two eyes, it's not speculation how it works. In my opinion, this method is flawed on several points.

This method isn't bad, per se, if you are being honest with your clients about what is going into their keepsakes. I realize some people aren't going to be happy with this, but I’ve been deleted from groups, called names, and bullied along the way, it is what it is. I'm not doing this to be mean, but I like science and information. My Main point is mothers are expecting no tints, and for their crafter to be honest with them. If you're doing that, then there is no issue here.

It's not about swaying your opinion on the method or which crafter to use, rather making people understand what’s happening to their piece. Most mothers aren’t going to realize THAT much filler and that much of a tint goes into their piece. And if their crafter is telling them no tints, they believe them.

This is 5 ml of water to represent the breastmilk that would be used to one packet of powder. I didn't use the whole packet, I used a tiny bit, just to show how much it impacts. Even being diluted more, it still is VERY pigmented and again, you'd be adding a lot more powder and evaporating off any excess liquid, which is primarily what breastmilk is.

This method only works if you’re being honest.

If you still want to argue that I make no sense, there likely isn't any reasoning with you.

You can see the video and all the other videos about preservation on my TikTok or Youtube.. https://www.tiktok.com/@mindovermattermom

Resins: Epoxy, UV, and Poly

There are many different types of resins you can choose from if you are looking for a crafter or trying out your own hand at the craft.

ALL require safety gear, no matter what the package, or your artist claims. Be sure to use a well-ventilated area with the proper eye, face, and skin protection.

There are MANY different types of resins, but I’m only going to talk about a couple. (Ones I have the most personal experience with.)

Epoxy resin. This is what I use for almost all of my crafting, though I use various brands for different looks and reactions as they all work a little differently and hold up differently. I use jewelry-grade resin for my jewelry crafting and sealing. Pros to epoxy resin are that it’s pretty easy to use and can do a great deal of work with it. Cons is that it isn’t very heat or scratch resistant to extreme temps and can yellow with time and improper care. Does release curing gasses for up to 30 days after cure out.
**Even food-grade resins are only for incidental use only, this doesn’t mean the food should be eaten directly from the resin, it means, the food, such as a cupcake can be used with it because it has a wrapper between the two. DO NOT use resin items for direct contact with food or use with any amount of heat.

UV resin. This is what a lot of crafters use because it is a quick and easy product that you don’t have to wait nearly 14 to 24 hours to be done. This requires UV light to work and is also relatively easy to use. Pros it’s fast and rewarding to see your pieces right away. Cons, it’s not very long-lasting as some crafters would like you to believe. It yellows quickly and is only really made to last for a year or two. It can become brittle and break and is not recommended for thick castings and is not recommended for a sealer/protectant. AND it can actually continue to leech toxins for long after it is cured.

Polyresin. This is an extensive list of resin types. I’ve only worked with one poly resin and ended up throwing it away because it was awful. Pros are that it cures quickly and hard. Cons are that is incredibly potent, so you need to use a ventilation tent or outside applications. It is also more difficult to cure resin depending on what you are adding to it and what climate you live in. It also yellows very fast. Leeches toxins for months after cure out, and easily cracks when it gets cold.

You can obviously find a lot more detailed information about the types of resins and why which one should be used with a quick google search.

My top choice for my keepsake work is hands down, the epoxy resin in 2 parts. I have pieces over 8 years old that are yet to show signs of aging resin. Choose your brand wisely.

2 part epoxy is stronger and much better of an option to use for many reasons. The crafters who are using UV for keepsakes are not using what's best for their pieces/clients. A lot of them are using UV merely for the fact that it cures fast and gives instant gratification as well as a way to pump out orders. While I agree, waiting 14 to 24 hours in between pours is a drag, it's really best. It isn't a long-term epoxy nor jewelry grade to be crafting keepsakes with and IMO pretty irresponsible.

All resin/epoxy is bound to change over time. Like most plastics, they can absorb colors and oxidize over time. It's up to each crafter to find which holds up best with time and which holds up best with the method of preservation they are using. Different chemicals react differently in each epoxy.

Happy crafting.!

Not all preservation methods are created equal Pt 1.

Let's real talk for a minute.

When you buy, let's say, honey from a beekeeper, are you expecting all raw honey in the bottle you purchased? Or are you okay with it being "honey syrup" made mostly with high fructose corn syrup/dyes and only a fraction of real honey? - THAT is the difference between some breastmilk jewelry methods.

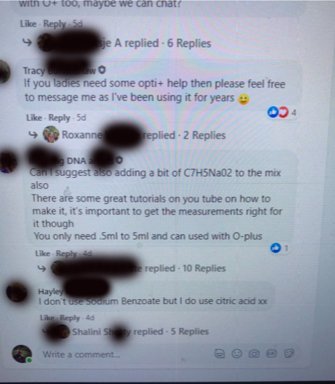
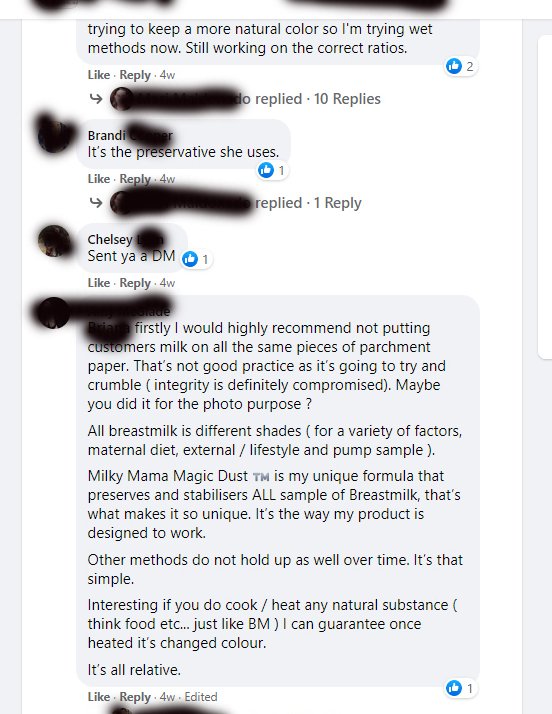
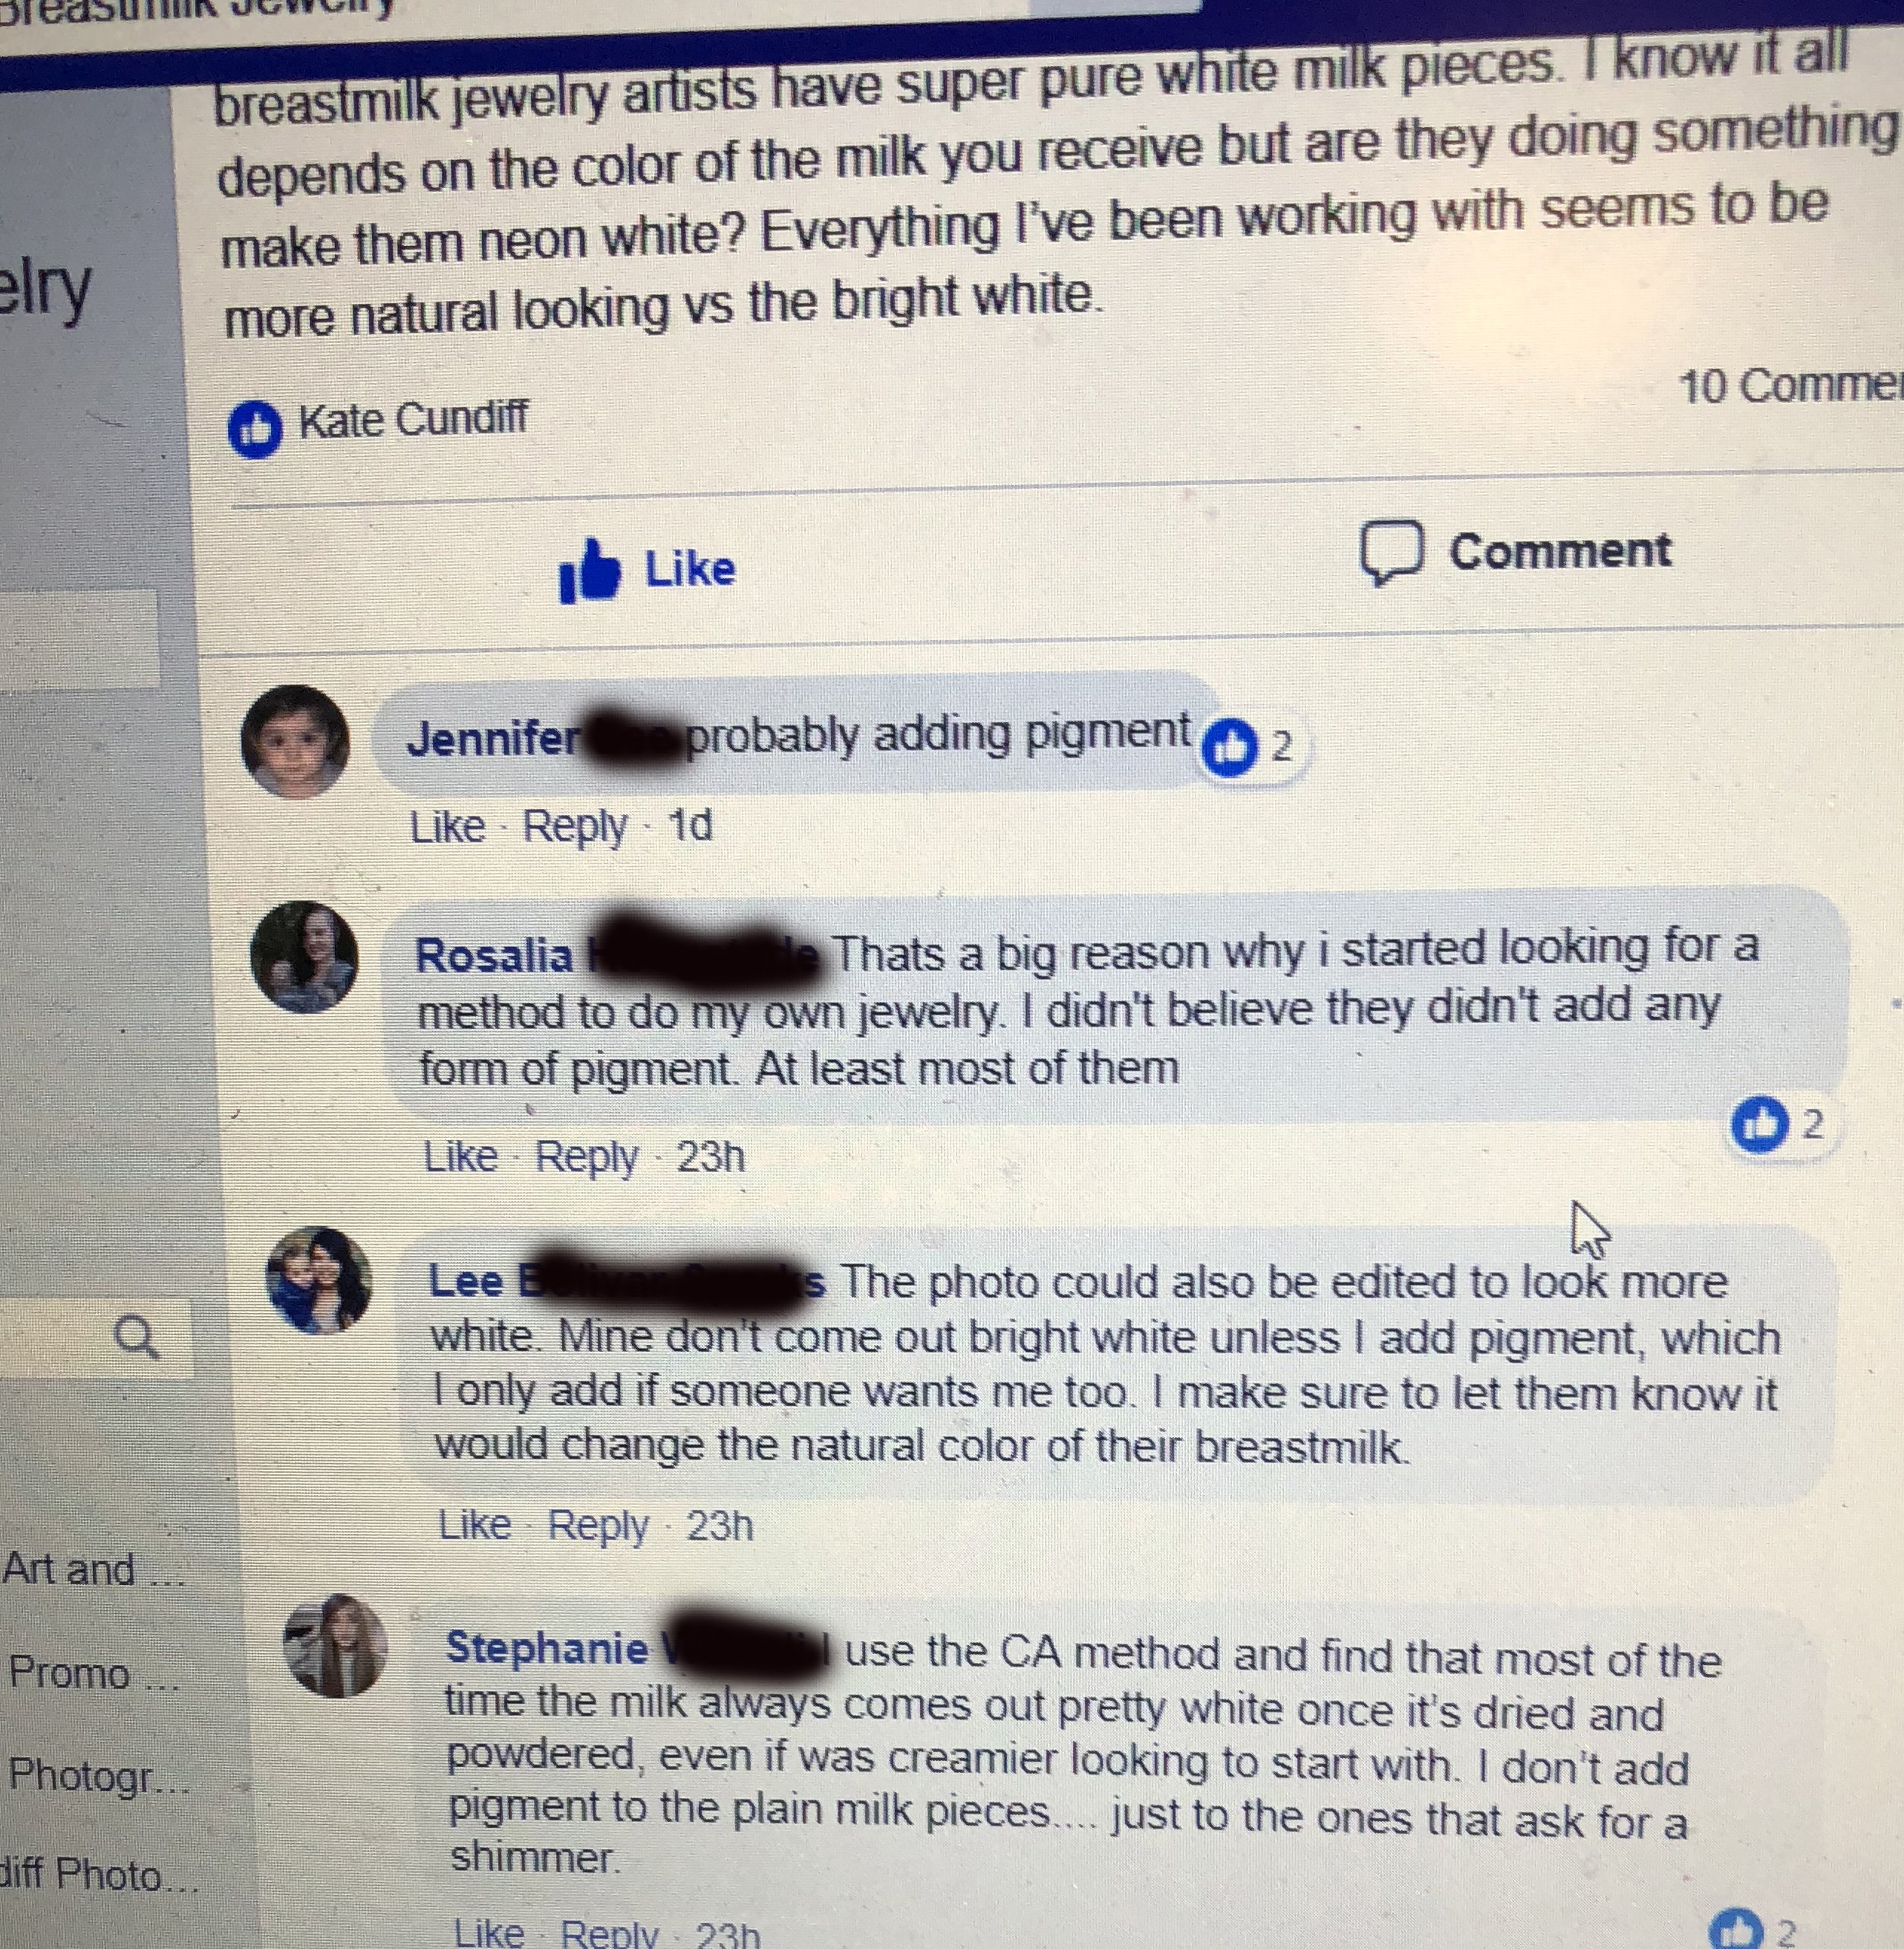
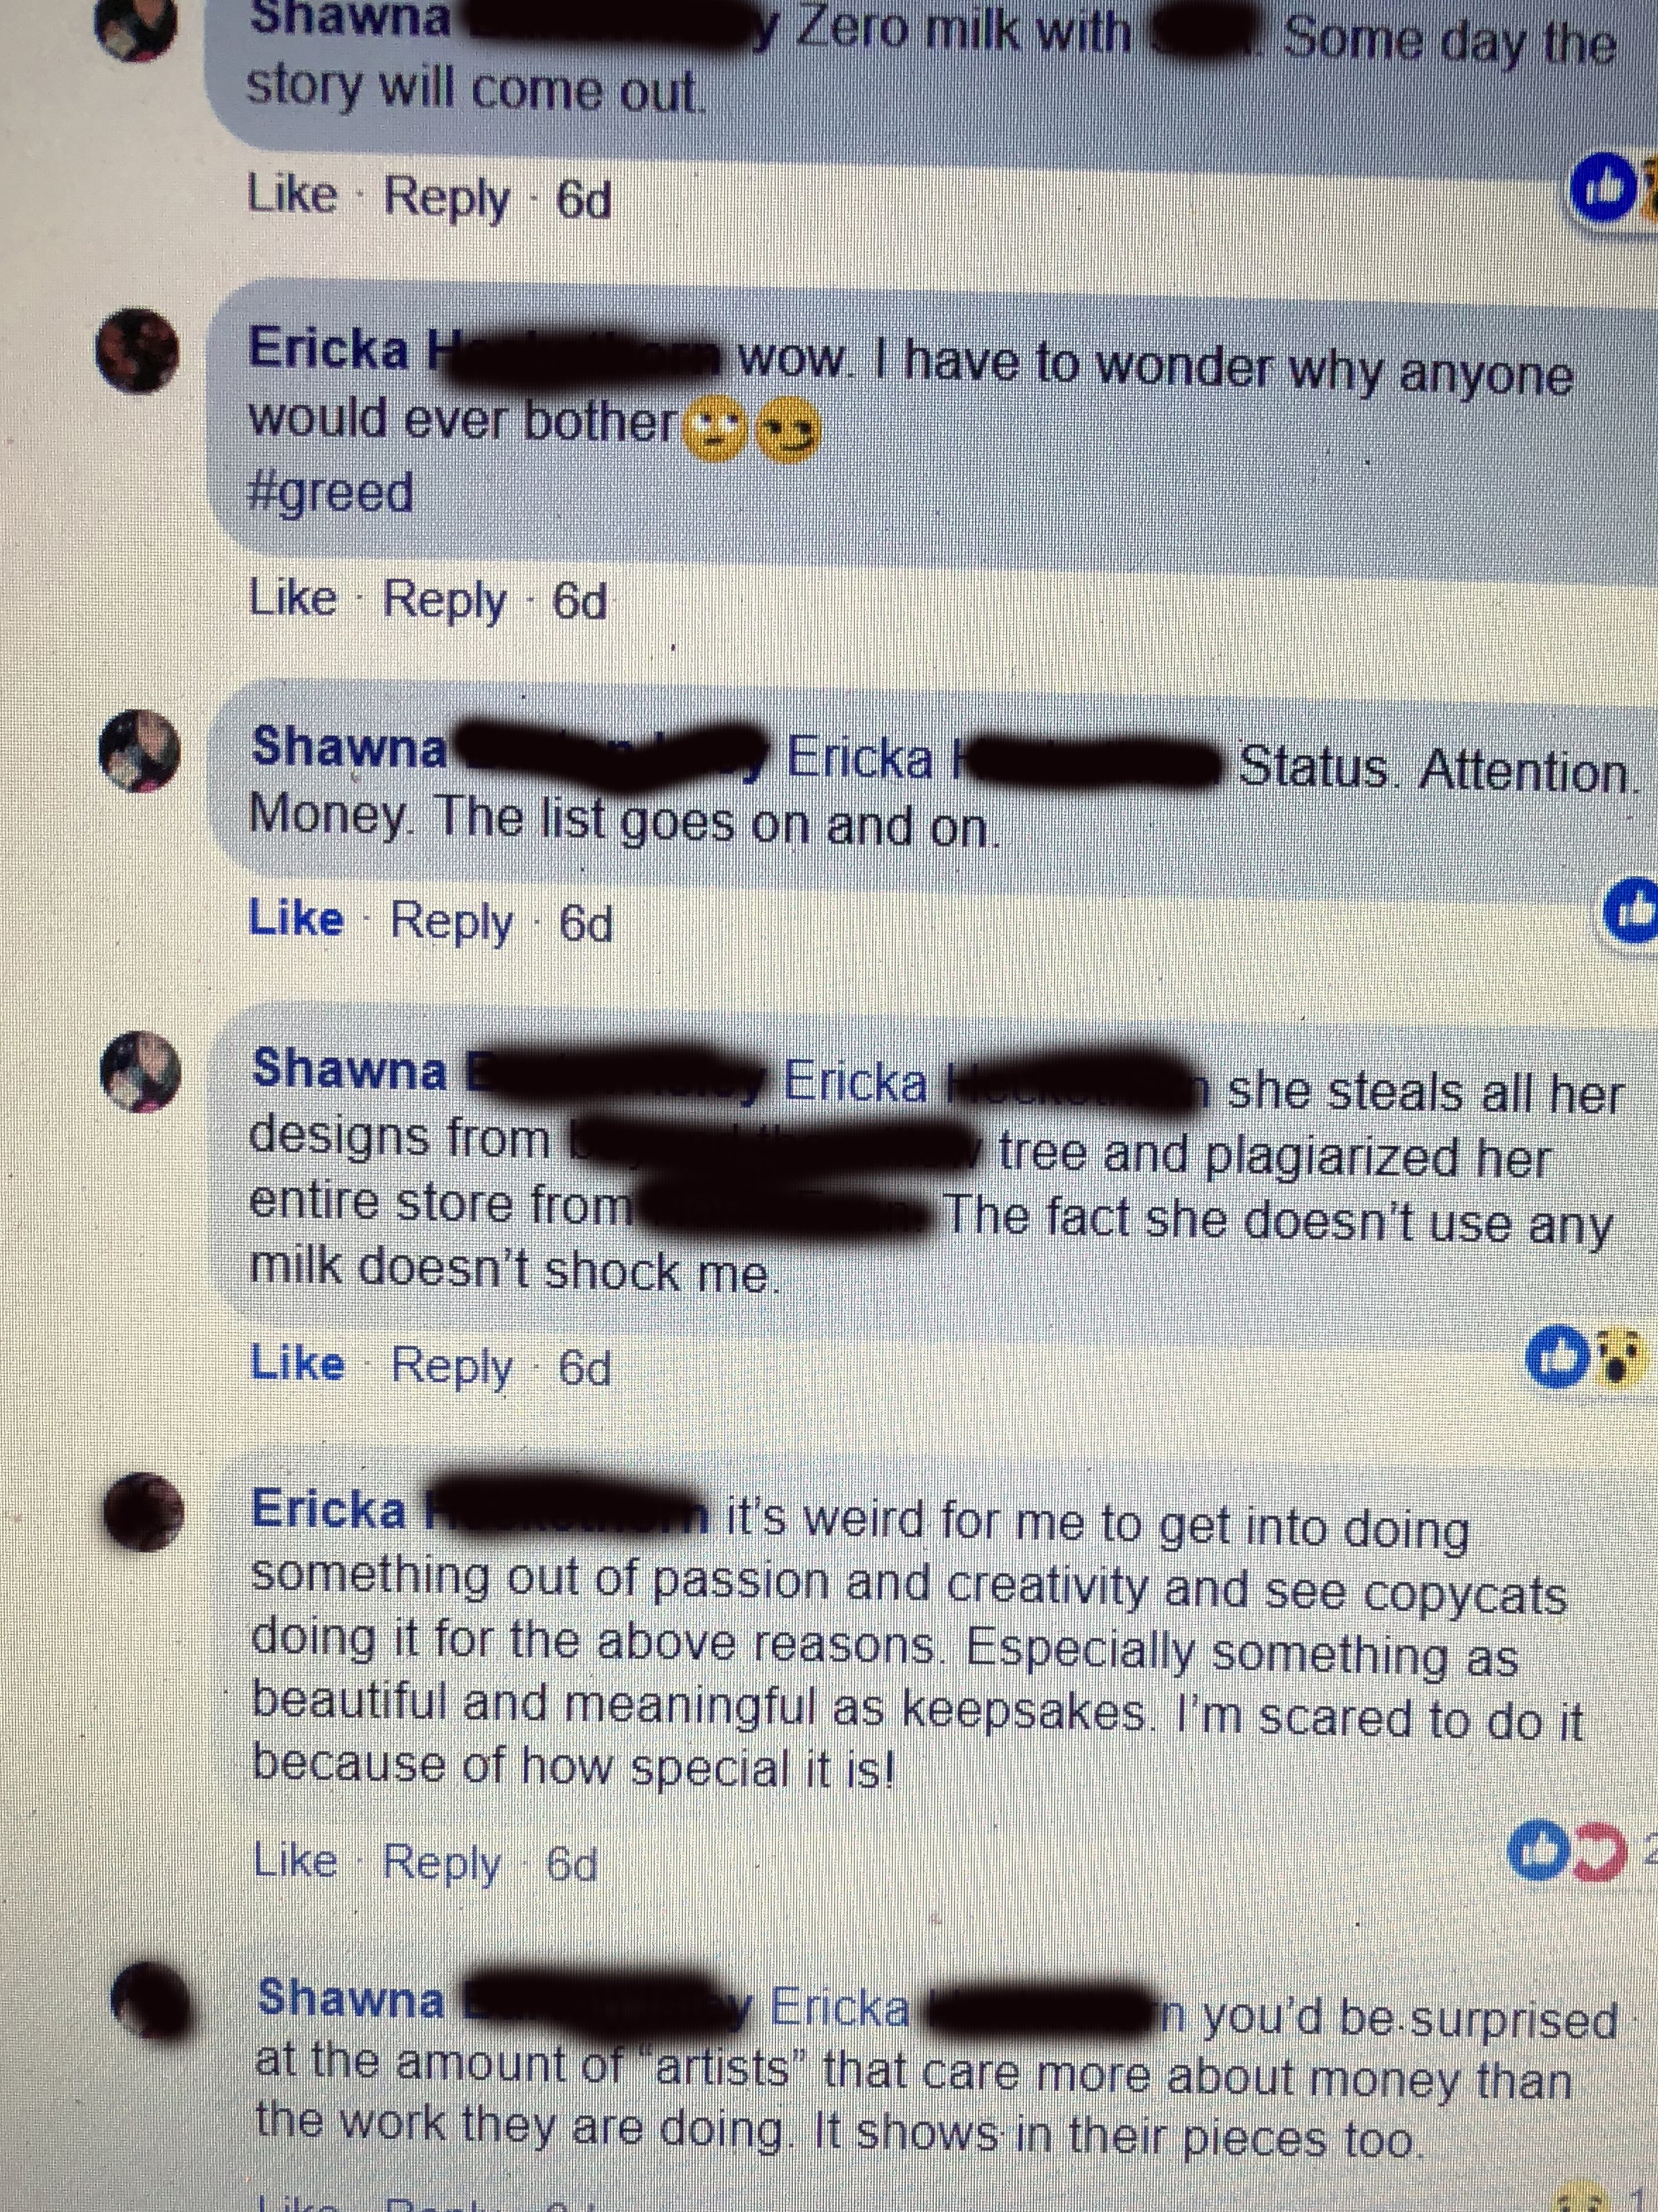
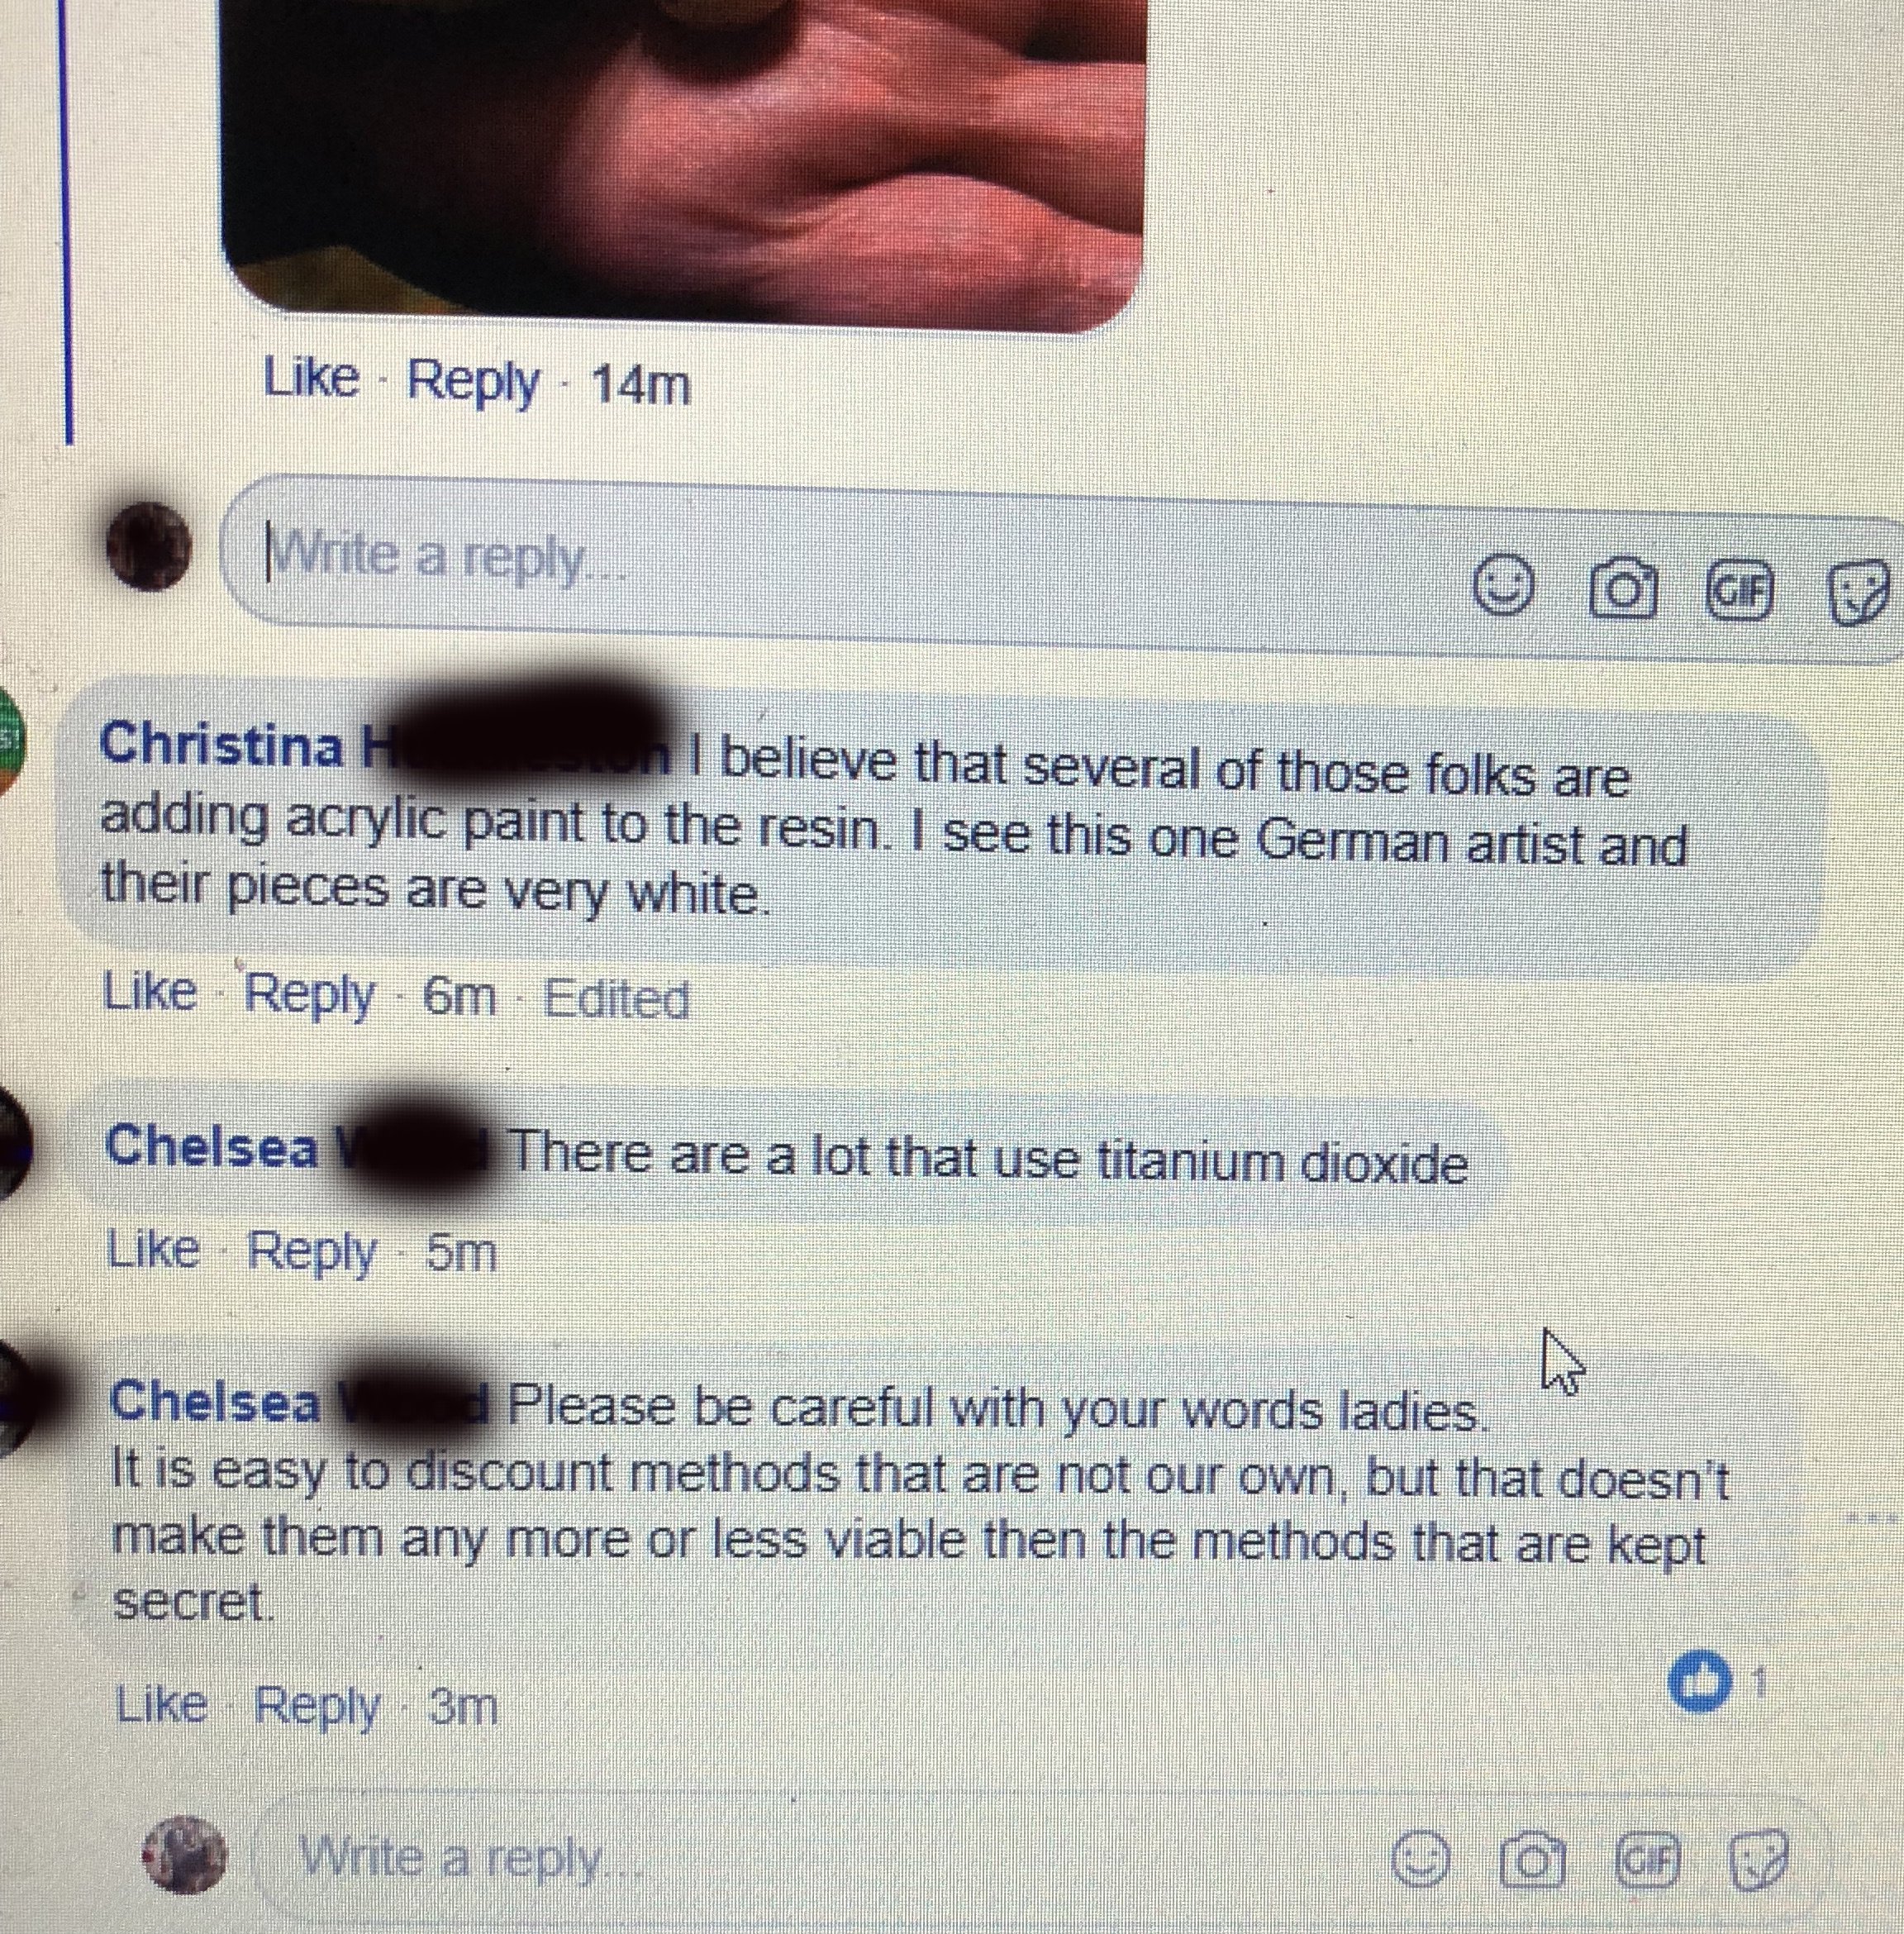
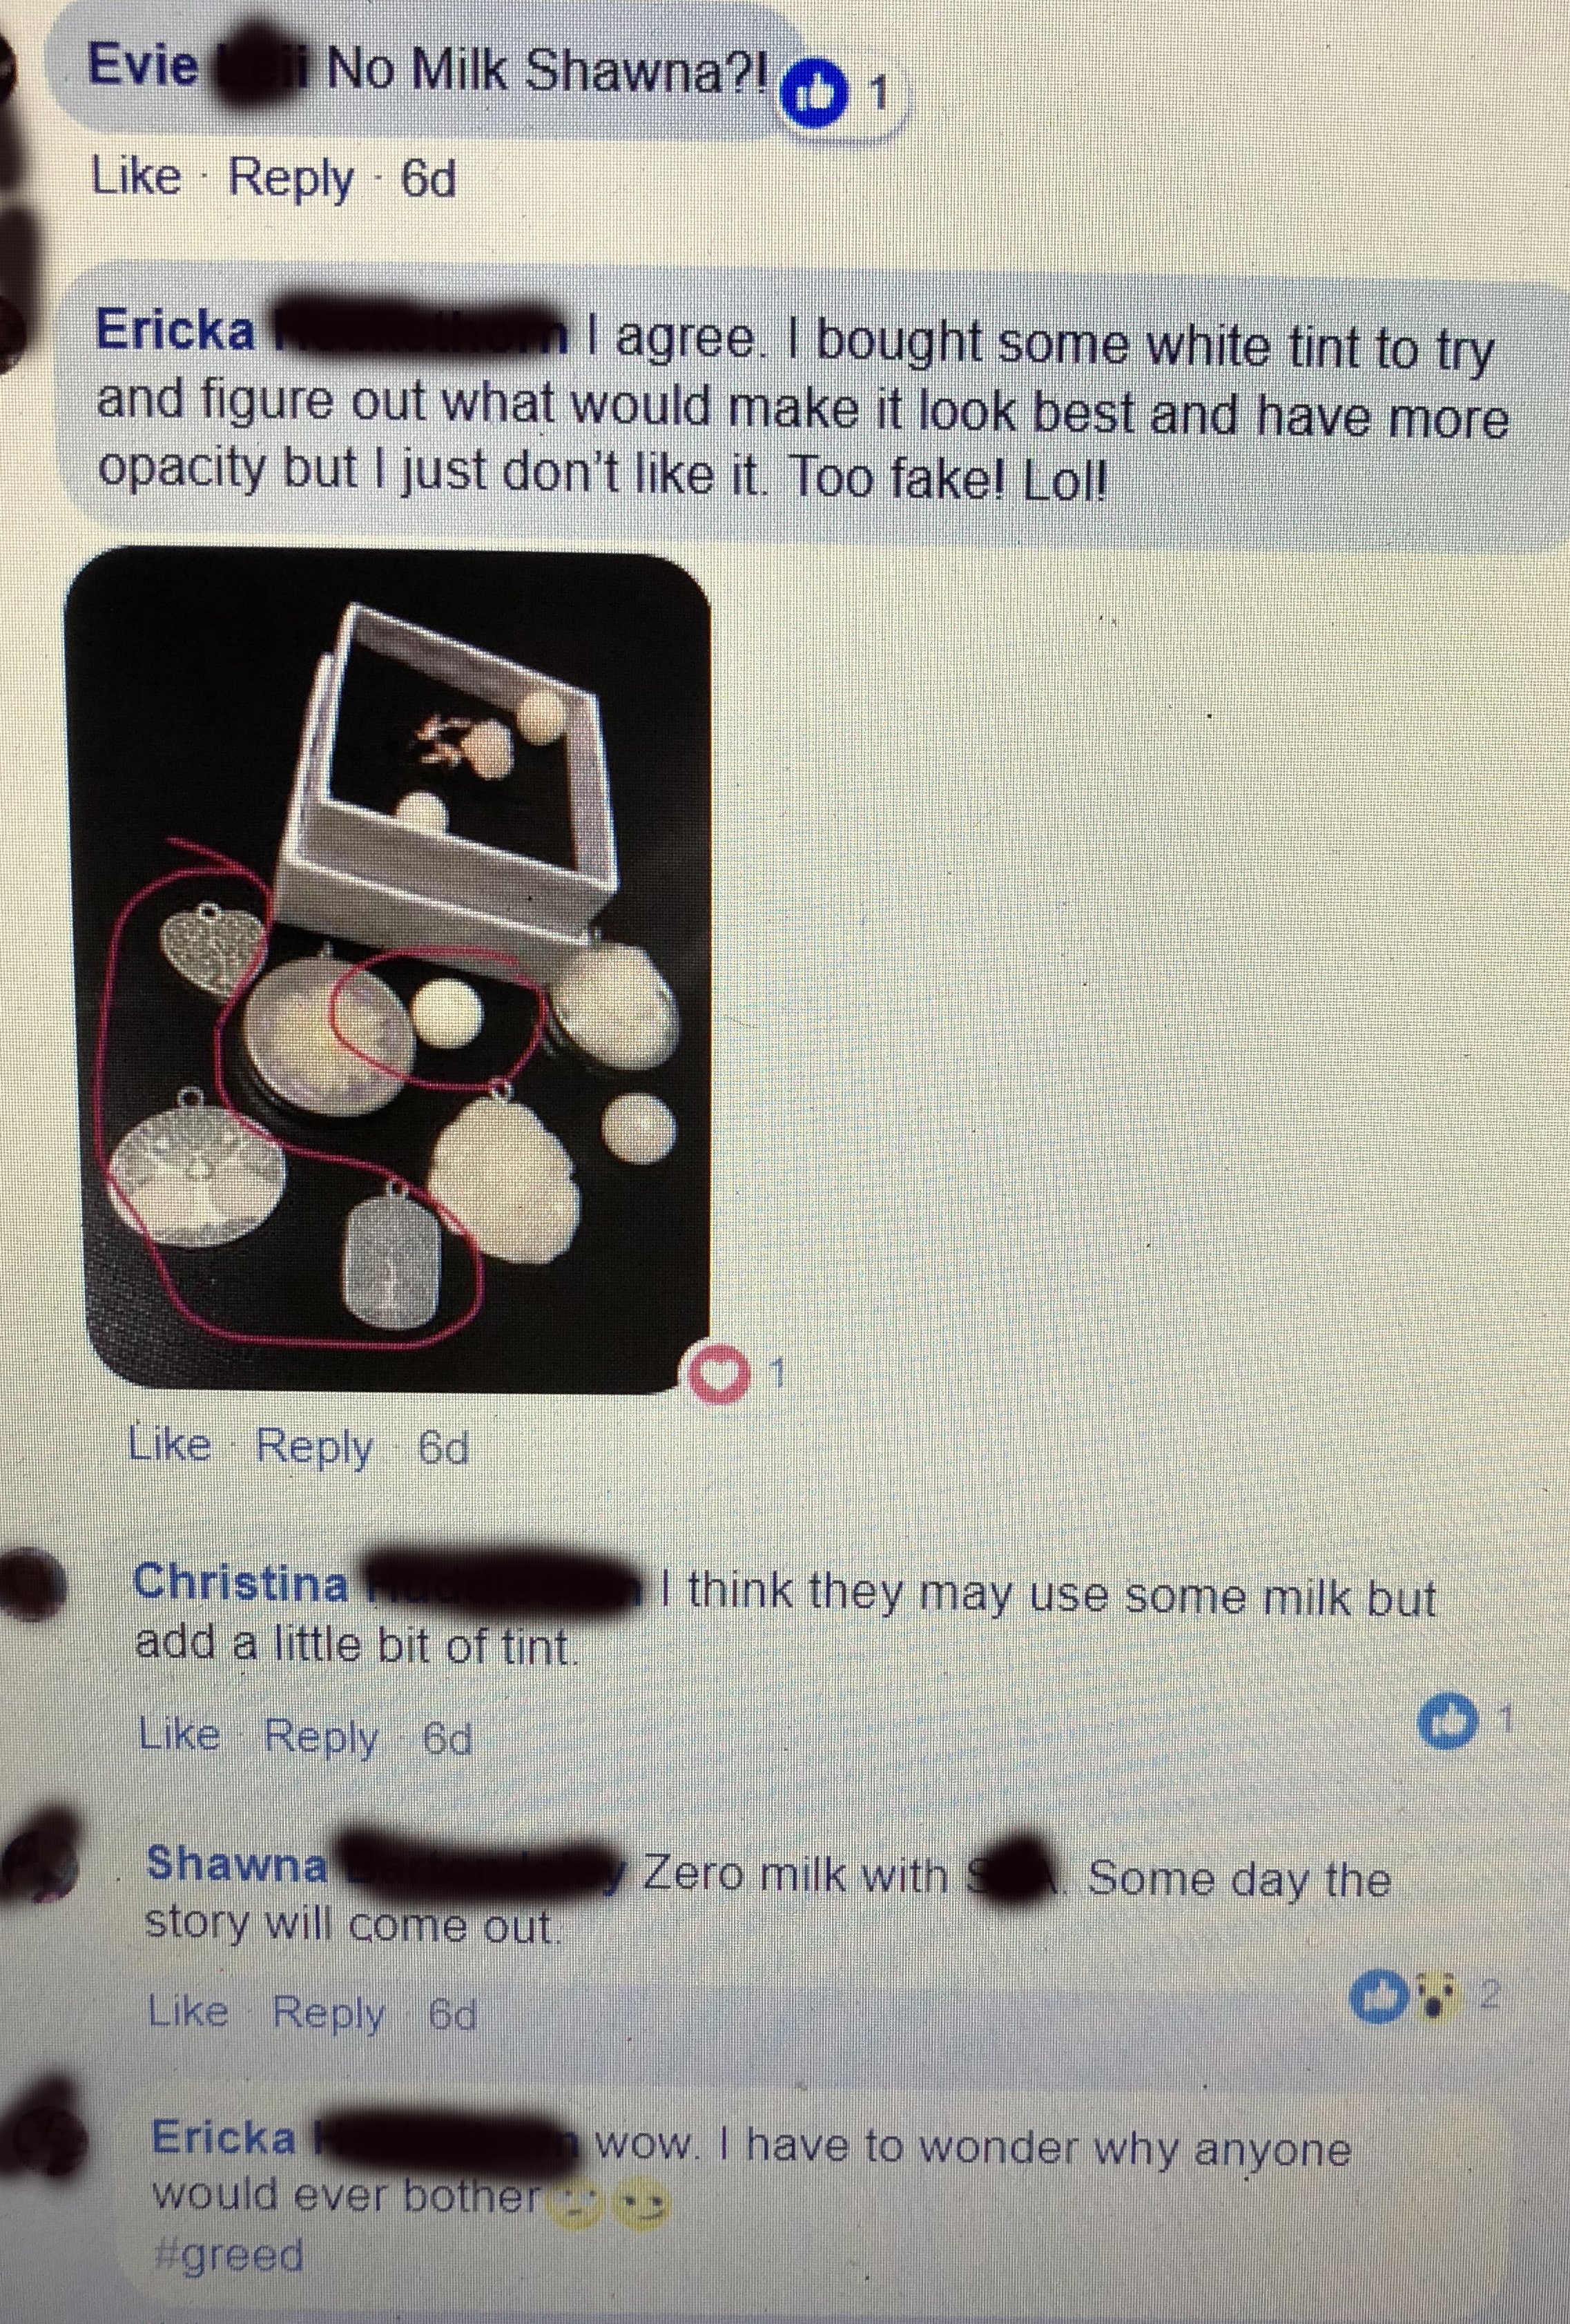
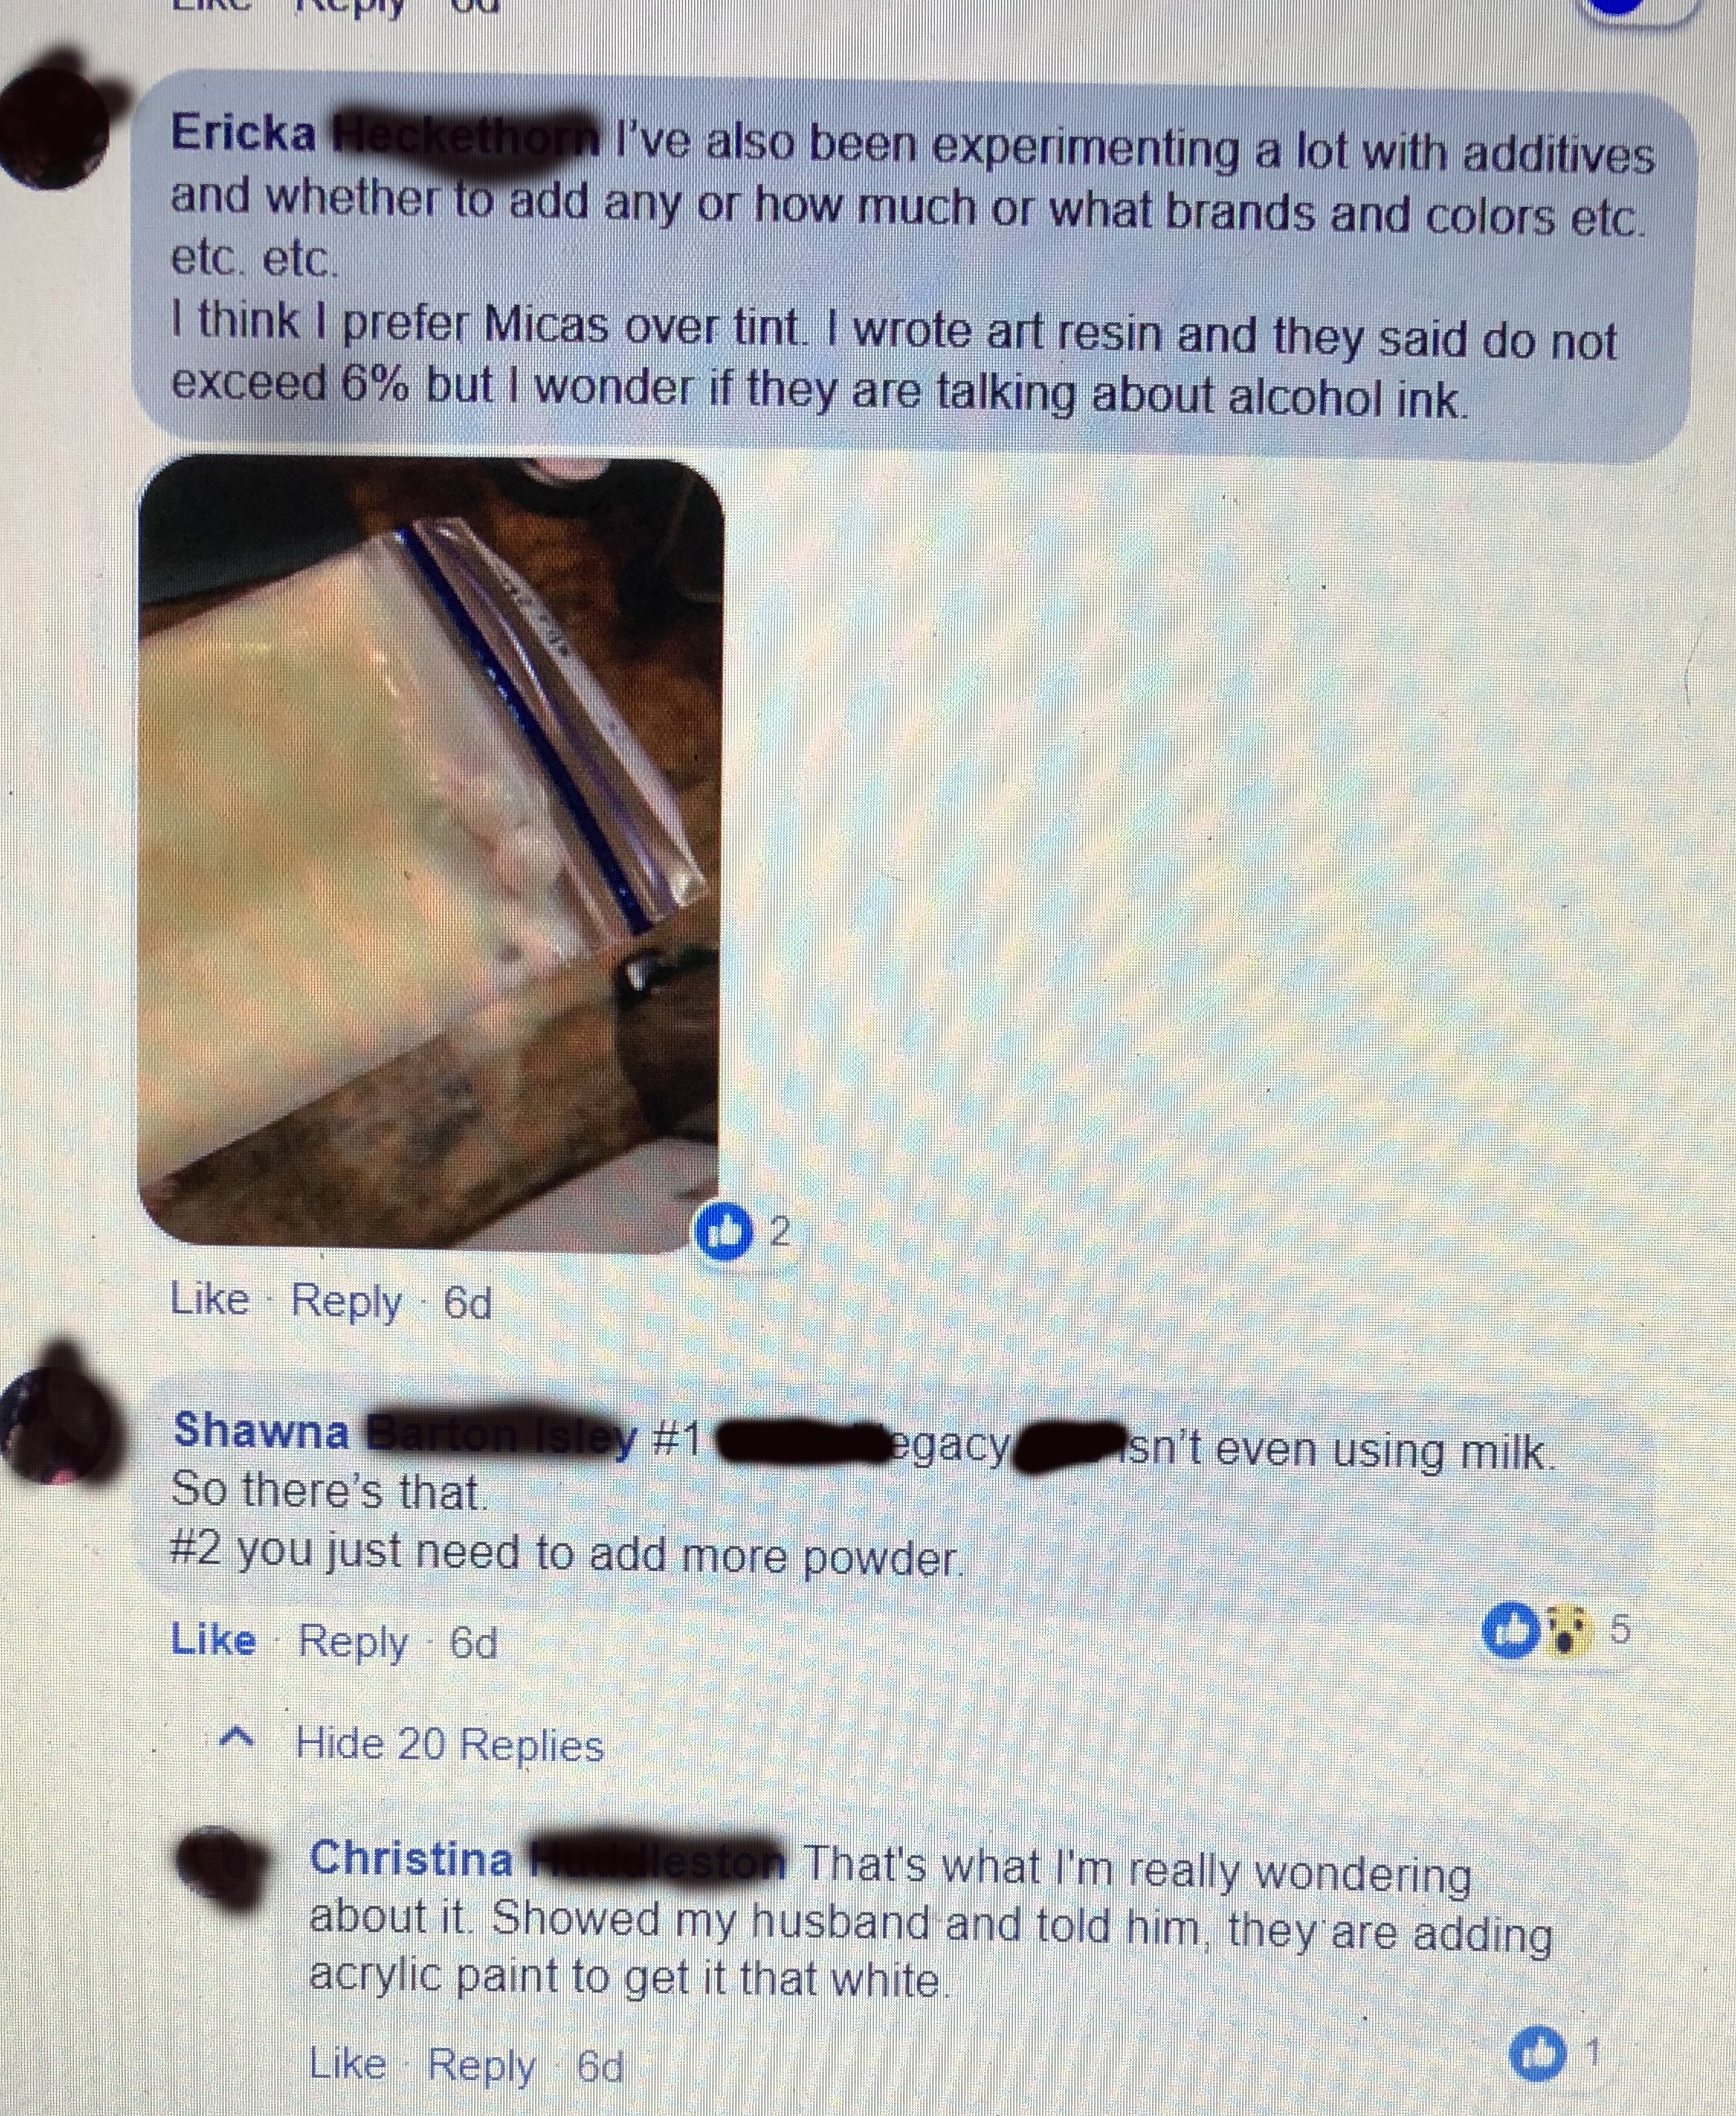
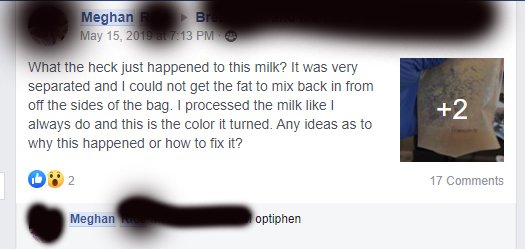
While your artist doesn't owe you their method in detail, they can, and should give you an idea of what does or doesn't go into their processes. Can they add their solvents to water and still have a clear or at least transparent "pure" result? You can ask them to do this and if they won’t that should be a RED FLAG. Do they use more of their solvents than your milk? Do they evaporate off most of the milk you sent? - Have you ever boiled breastmilk? It evaporates quickly and almost entirely. Try it. Some artists seemed to have found a loophole to use tints. The package doesn’t state it has pigments, no powder maker is going to admit that to you, so the crafter who purchased it can “white lie” by telling you no tints because they have NO idea. Common sense tells us that just because something doesn’t say it is a tint, it can still impact the color of something, meaning it ACTS like a tint. Don’t let your artist fool you with loopholes and white lies. A strawberry doesn’t call itself a tint either, but it can be used as a dye, just as those powders are doing to what VERY little is left of your milk.

Then we get into chemicals used. If your crafter doesn’t have their own method they have NO idea what they are using in your piece.

My method is a proprietary "wet method" which means your milk is not evaporated off or dried out before it is put into resin. The milk is still in a "wet" form when it is preserved, stabilized, and then cast into your milk gem. NOTHING that contains pigments or tints are added to your milk. My method is your milk with two clear solvents working with the fats in YOUR milk and that's it. (Please note again, "wet" does not mean it hasn't been preserved and prepared to go into the resin.)

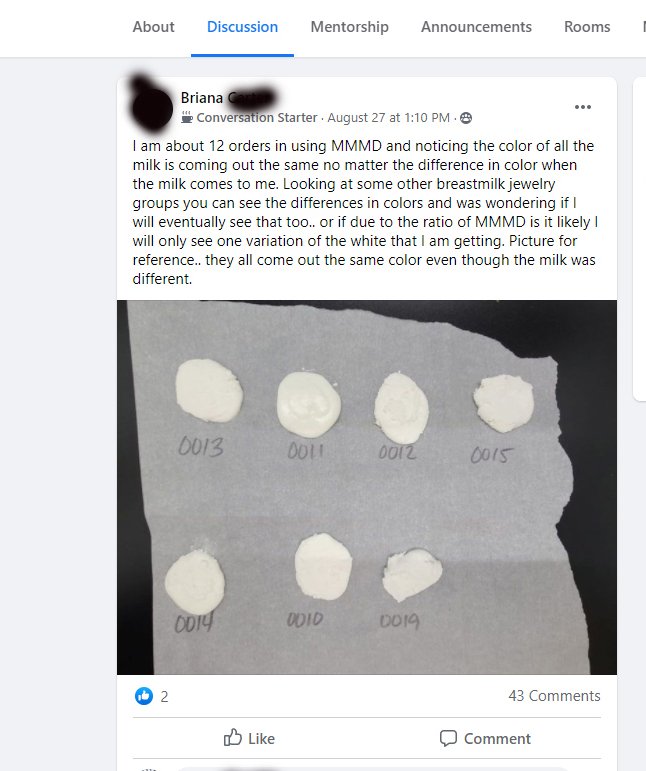
My biggest goal when setting out to create my own method was to make sure to keep the method authentic and genuine to MY milk, not a filler. Once your pieces cure-out they are a more natural milk color. Goal achieved for what I wanted in my method. My method is absolutely not for everyone, but I find honesty and integrity in my work very important. As a mother who breastfed all 4 of her children, I only make what I would personally want. I didn't want to cherish a piece made with filler powder and perhaps only traces of my milk. I'd have been devastated to spend hundreds of dollars on a piece only to find out it was packed with a filler or evaporated off.

I worked a really long time, completely on my own, like a mad Scientist for a method. This is where my heart is at. I wasn’t given a method to run with, like most other artists out there. I built my business and waited before selling to be sure my method held up. It’s frustrating to see so many artists already opened up and STILL looking for a new method.- You get your method working THEN start your business and so many have done it the opposite way. DO your research on your artist and their method.

Ask your artist to mix the powder or solvents with water and you can see the impact of their preservation will have on your milk. Ask your artist questions. . you’re allowed.

Top reasons I stand behind my method.

1. Pieces do not rot

2. It contains more of your milk than anything else added(other than resin, of course)

3. I don't evaporate off your milk in the process, at all.

4. There is no powder base or solvents that act as tints or filler.

5. More of a natural color upon cure-out, which happens with the fats in YOUR milk. That means, it is unique to you.

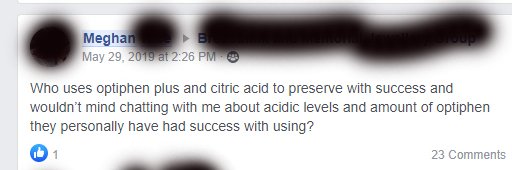
6. No hazardous chemicals used to preserve. Everything in my process is food grade- Like, I could literally feed it to my child and not need to run to the ER. - Some crafters don't even know what the powder they are using contains, which is also a really scary fact. Others use chemicals known to cause cancer, respiratory problems, hormonal imbalances, etc. I KNOW what I am working with because I made it. The most dangerous chemical in my process is the resin itself and I can’t do much to change that. I do work with a food grade resin and not a poly resin

7. I can also make pieces that stay bright white too, the difference is you have to ask me to have a tint added. It isn't added as the base preservation, like the powder method, which for all the ones who outsource the powder know, all it is, is tint. We don't know and they can’t tell you either because they have no idea.

8. Having sourced all of my own preservation materials I can keep my prices affordable.

That being said, if you see a crafter making theirs with powder and you love that piece, buy it. You are still going to love it. It doesn't make it any less of a piece, but you as a consumer should be allowed to be enough aware to make the choice. And your crafter shouldn't conceal that. My main point here is lack of honesty and the amount of milk that actually goes into that method. So many artists want to sweep it under the rug for their own gain.

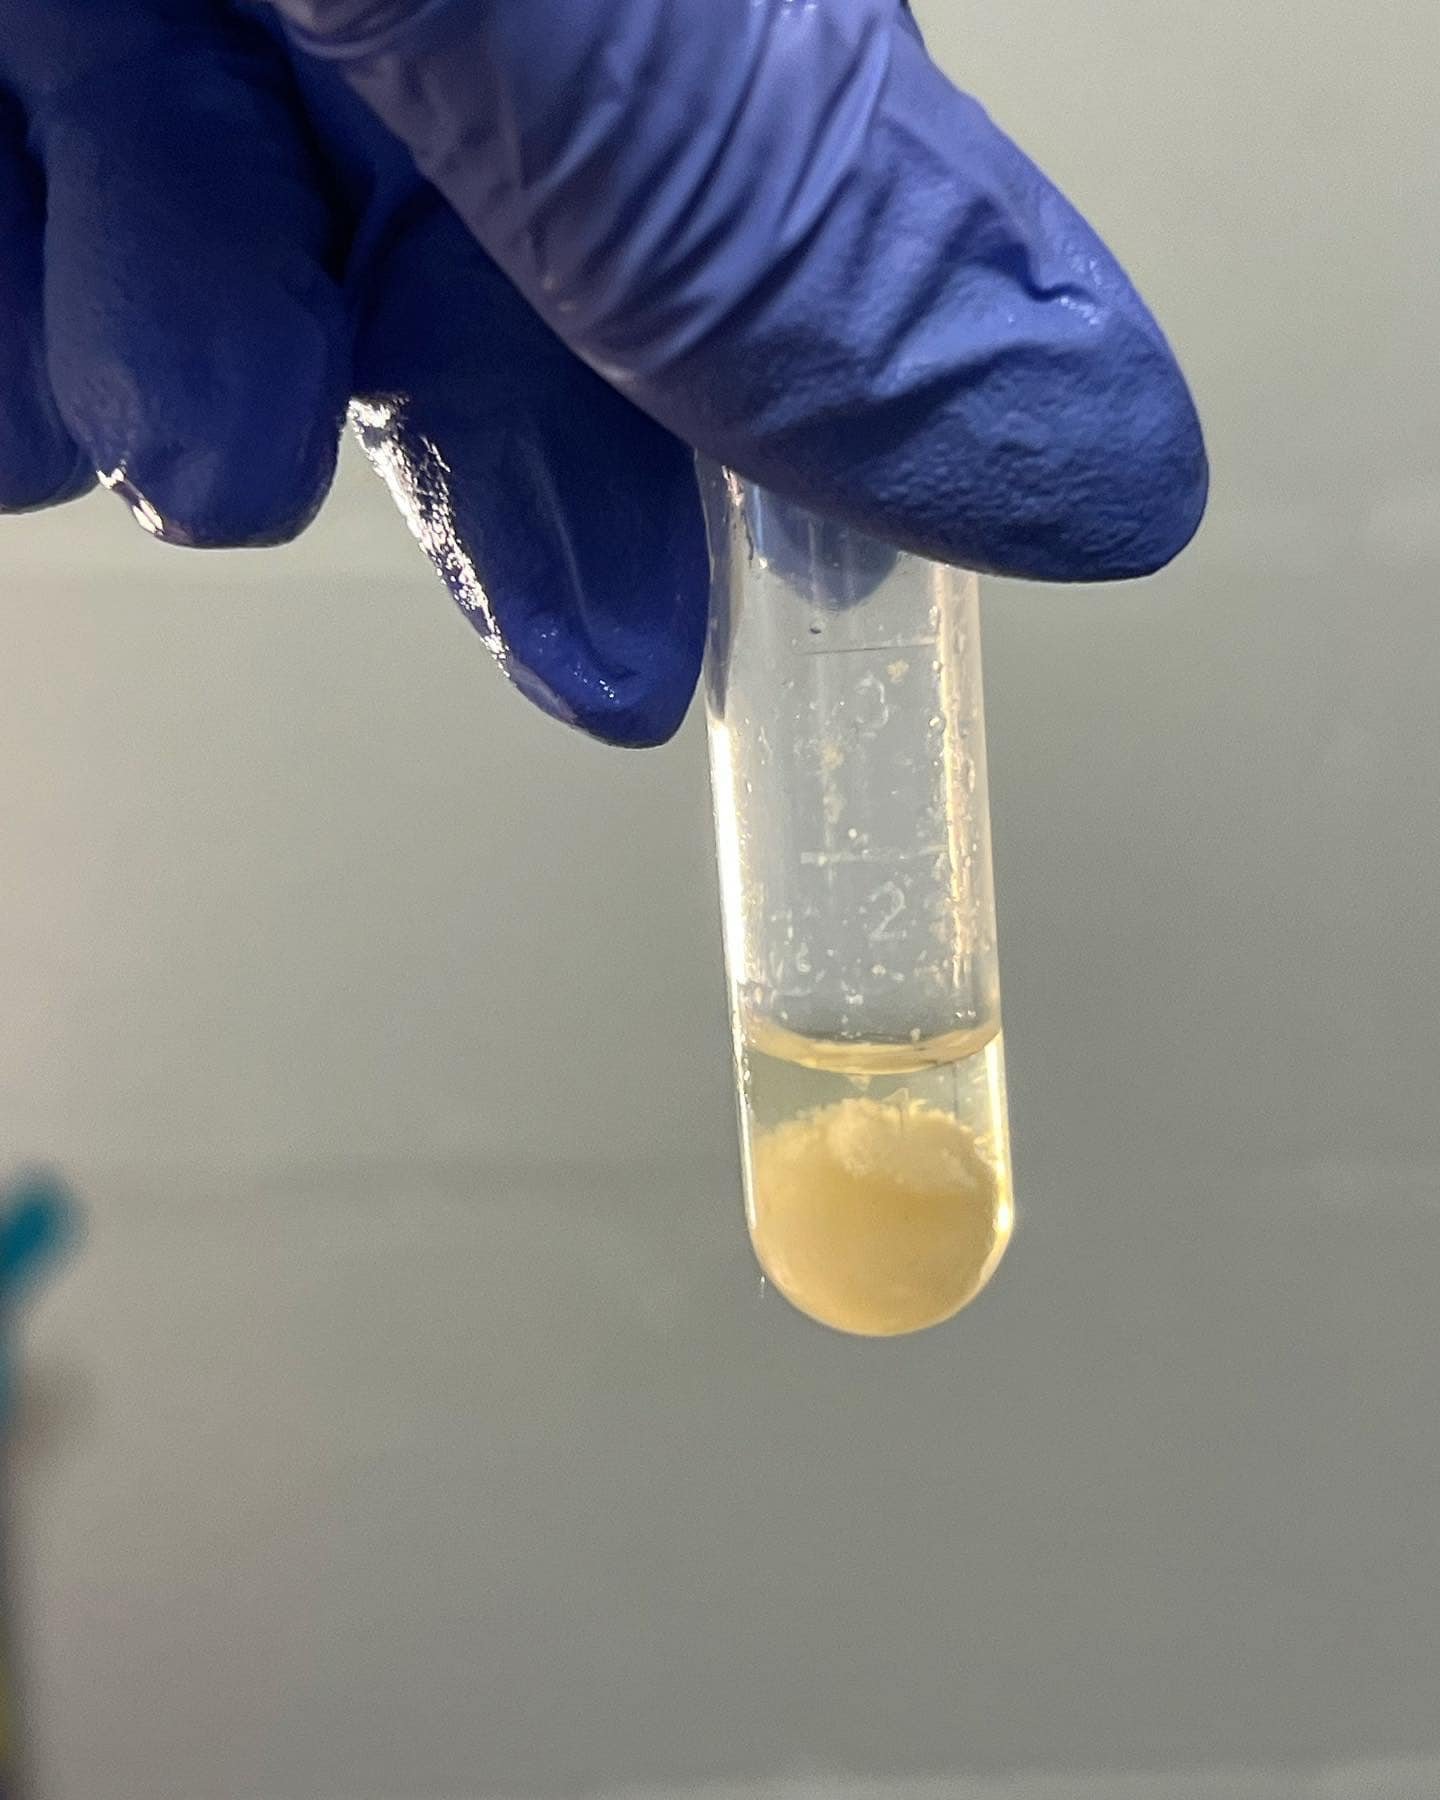
I will be doing an in-depth video and blog post about this soon. AND I recently got my hands on some of the preservation dust, so I am going to show you HOW much it changes water. I knew it would, but I was even shocked at HOW much. Not sure how anyone can use this method and not question the integrity behind it. I’m also seeing a few of the artists complain of skin reactions. This could be from a number of things, like resin, curing lamps, or mmmmmm maybe the powder they are using?? Food for thought?

While there are several ways to make breastmilk jewelry, they are NOT all created equal. Someone, somewhere has to raise a little awareness instead of following the herd. Being a leader means taking a stand when no one else will, even when it means not everyone likes what you have to say. Hopefully, this will widen some eyes instead of starting a war. If you don’t like me merely for the things I have to say about this process, maybe you should rethink WHY you don’t like me or what I have to say.

Preserved breastmilk ready to go into the resin for a piece of jewelry. (Small amount as I was only making a small gem. Breastmilk preservation

Preserved breastmilk ready to go into the resin for a piece of jewelry. (Small amount as I was only making a small gem.)


Cured out breastmilk pearl (roughly 5 years old) with the breastmilk it was cast from. They are soooooo alike it makes me giddy. Breastmilk preservation method. Pure beastmilk pearl.

Cured out breastmilk pearl (roughly 5 years old) with the breastmilk it was cast from. They are soooooo alike it makes me giddy.